Transforming a hard concrete surface into a soft, lush green area is easier than you think. Whether it’s a patio, balcony, driveway, or poolside, installing artificial turf on concrete gives your space a natural look while remaining low-maintenance and durable. With careful planning, the right materials, and step-by-step instructions, your DIY artificial turf project can be a success. In this guide, we’ll cover everything—from preparation to installation and finishing touches.
Artificial grass is a popular solution for areas where natural grass is difficult to grow. Installing it on concrete comes with several advantages:
– Customizable Designs: You can create any shape or layout—rectangles, circles, or even intricate patterns.
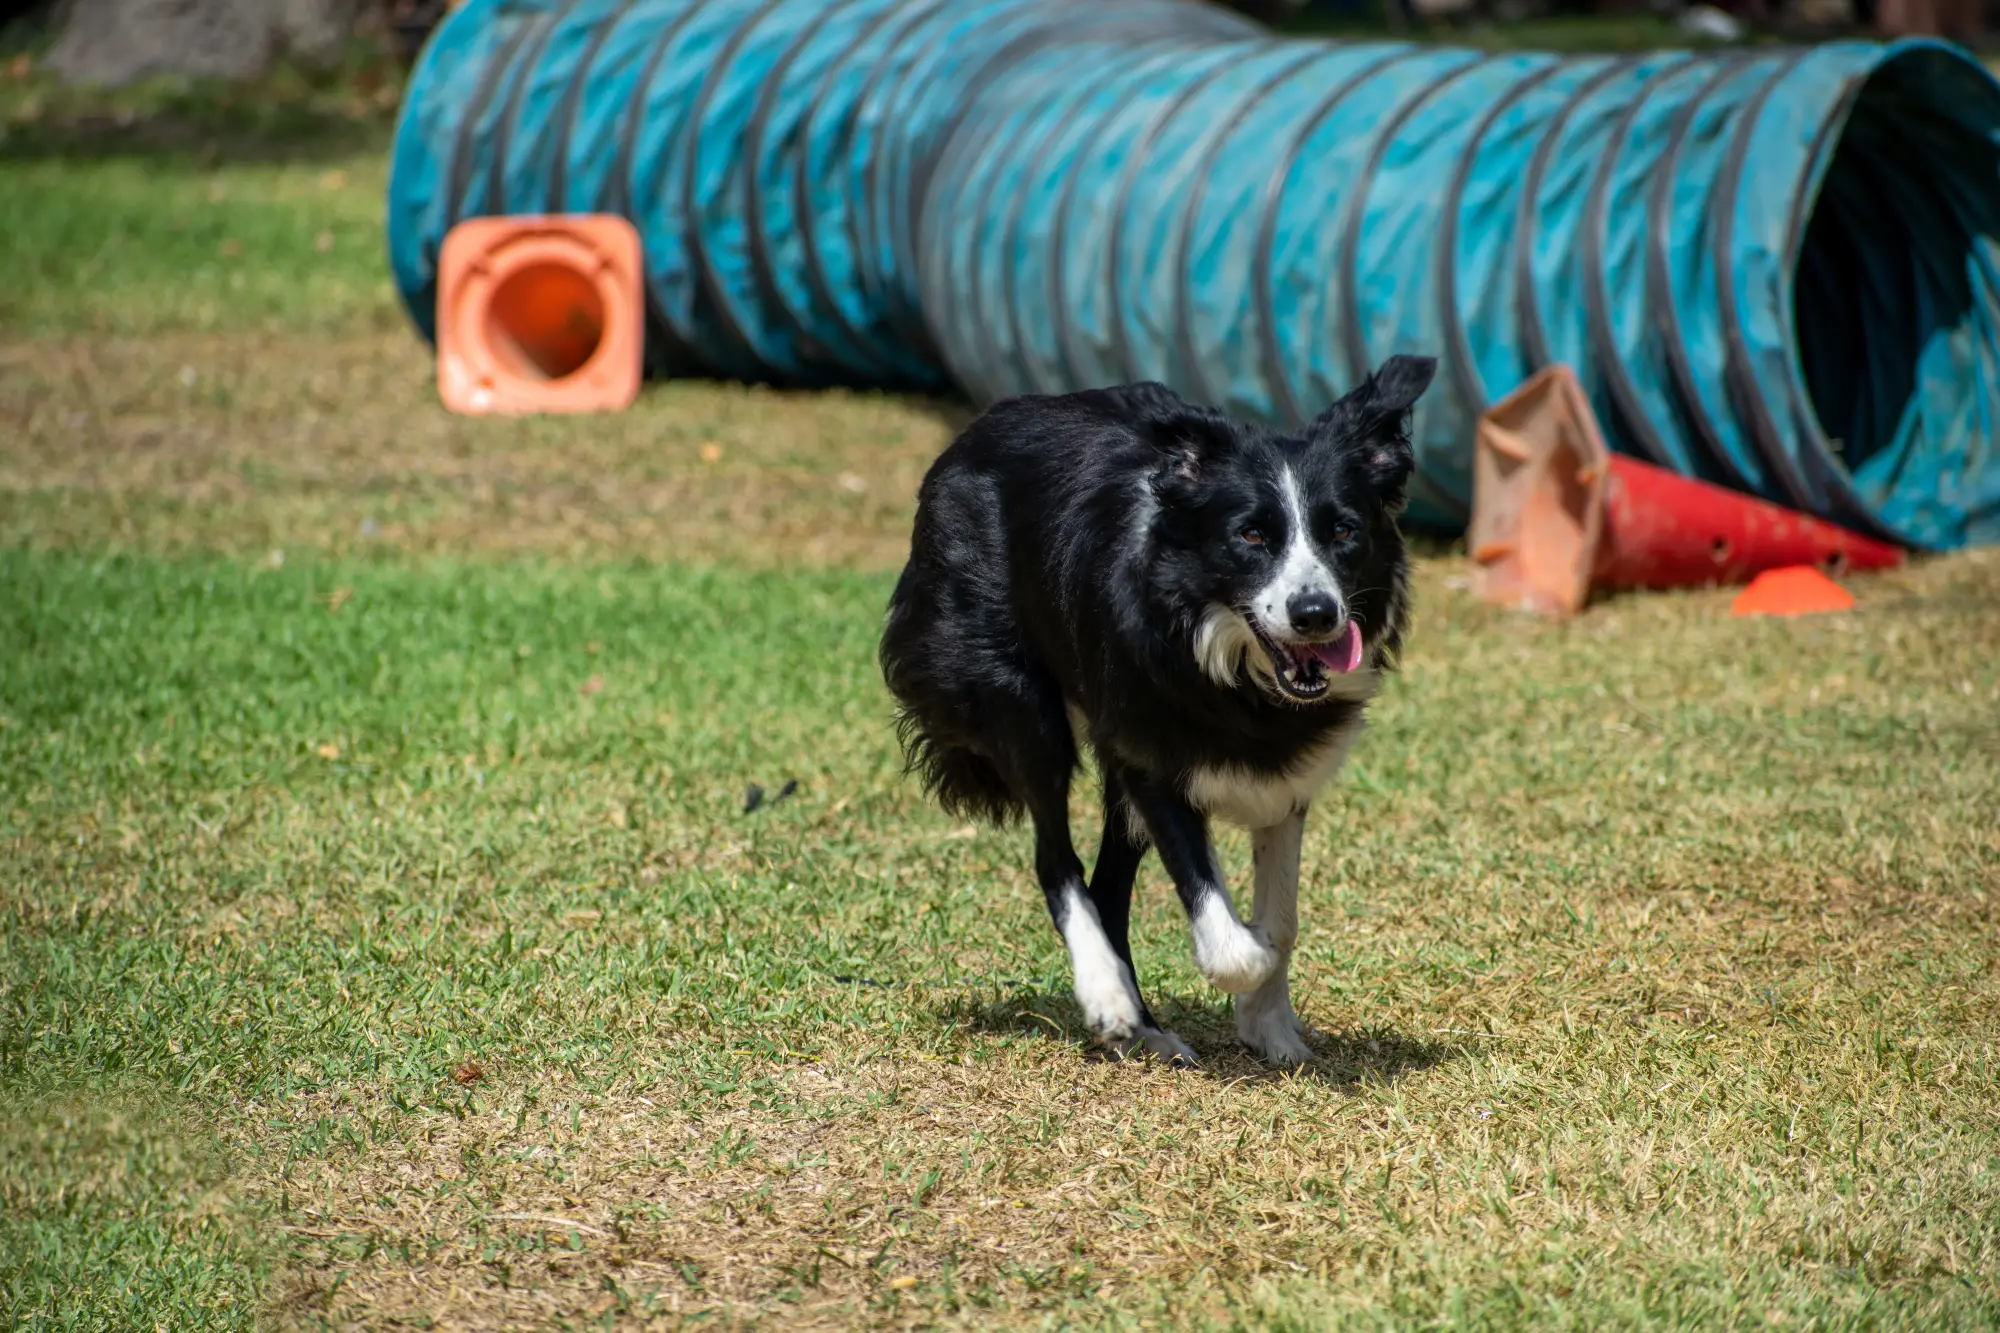
– Soft and Comfortable: Artificial turf adds comfort to cold, hard concrete surfaces. Perfect for kids’ play areas and pets.
– Durable: Synthetic fibers resist wear, tear, and harsh weather conditions, lasting many years.
– Aesthetically Pleasing: A vibrant green lawn transforms dull concrete areas into beautiful, inviting spaces.
Proper surface preparation is crucial for a long-lasting installation.
1. Clean the Surface: Sweep away dirt and debris, then pressure wash to remove oil, grease, or other stains. Degreasers work well for tough spots.
2. Repair Cracks or Bumps: Fill cracks and smooth uneven areas using mortar or concrete fillers. A level surface ensures your turf lies flat and looks professional.
3. Ensure Dryness: Concrete must be completely dry before applying adhesives or underlay.
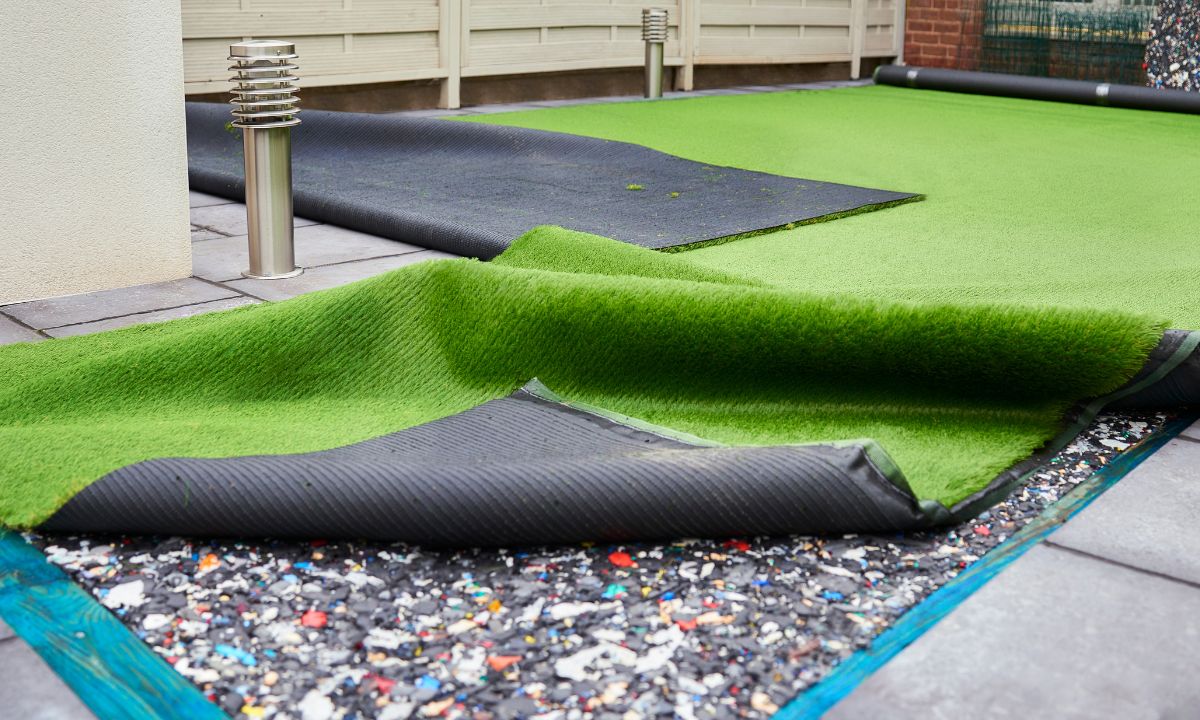
Installing artificial turf directly on concrete requires proper underlay and accessories for drainage and durability.
– Drainage Tiles: Air Drain Tiles or PDS tiles help water flow and prevent mold or mildew under the turf.
– Edges and Borders: Plastic or aluminum edging keeps turf in place and improves the finished look.
– Adhesives: Use high-quality adhesives specifically designed for concrete surfaces, such as XGS Turf Glue or Mapei PU-1K Turf Glue.
Tip: Avoid skipping the underlay—even if you think it’s a small area. It provides extra cushioning and extends the turf’s life.
Having all necessary tools ready prevents delays. Here’s what you need:
– Tarp or drop cloth for protection
– Stakes and hammer or mallet
– Bucket for adhesive
– Paint roller or brush for spreading glue
– Staple gun for extra security
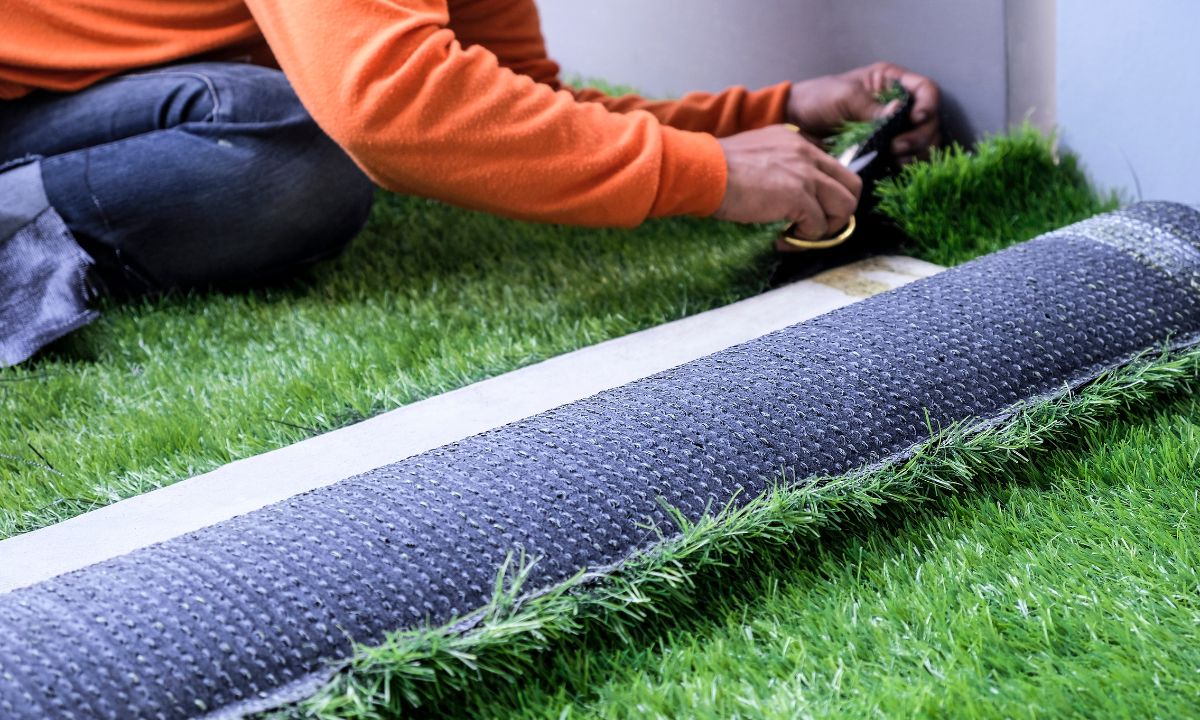
– Sharp knife or scissors for cutting turf
– Artificial grass rolls and accessories
– Let the turf settle for several hours to prevent wrinkles.
– Use a blow dryer on low heat or a clean cloth to speed up drying for small areas.
– Vacuum or sweep debris from the turf surface.
Tip: Avoid heavy foot traffic during this settling period for best results.
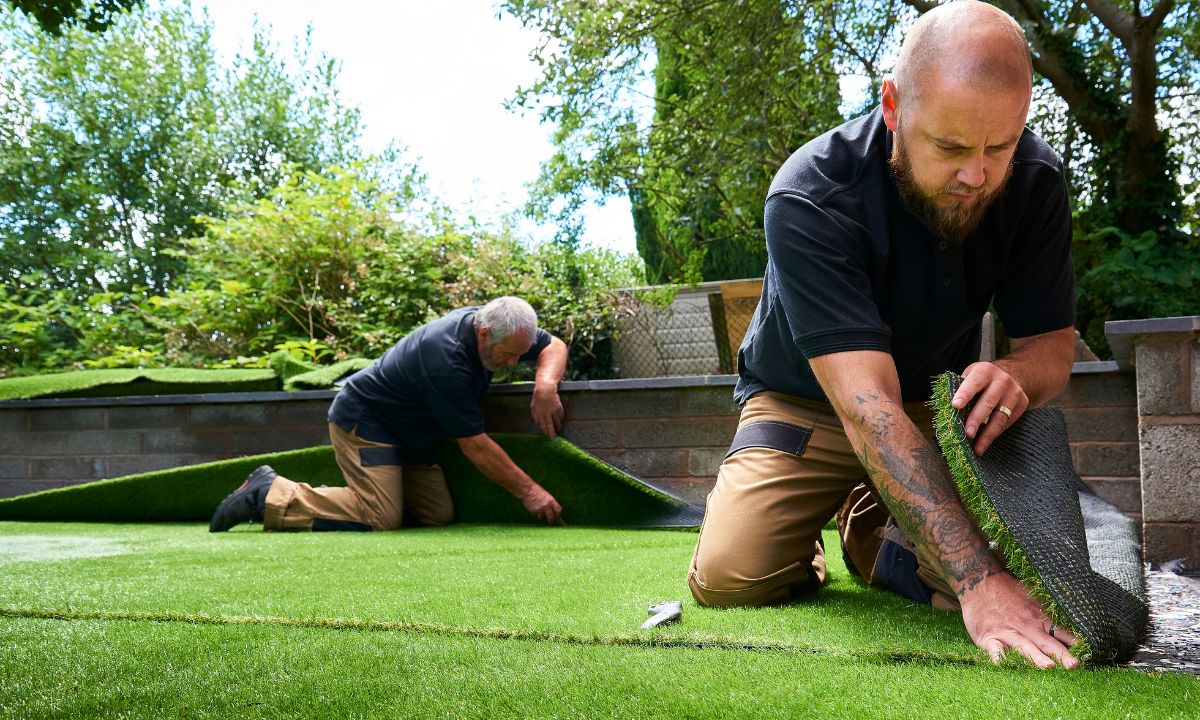
– Install edging or borders for a polished finish.
– Add decorative elements like planters, patio furniture, or outdoor rugs.
– For pet areas, consider a soft underlay to absorb impact and make cleaning easier.
Also, Read: Artificial Turf Installation on a Budget – Affordable Yard Update
Q: Can I install artificial turf directly on concrete?
A: Yes, but proper underlay and adhesives are recommended for longevity.
Q: Which adhesives are best for concrete?
A: XGS Turf Glue and Mapei PU-1K Turf Glue are durable and reliable options.
Q: Is foam underlay necessary?
A: Yes, especially for areas with frequent foot traffic, pets, or children.
Q: How long does installation take?
A: Small areas can be completed in a few hours; larger patios or driveways may take a weekend.
Q: Can I cut artificial turf to size?
A: Yes, use a sharp knife or scissors to ensure clean edges.
Q: Where is turf installation on concrete most suitable?
A: Patios, balconies, driveways, poolside areas, and commercial outdoor spaces.
– Regular Cleaning: Sweep leaves and debris regularly.
– Rinse Periodically: Hose down the turf to remove dust and dirt.
– Check Adhesive Seams: Inspect edges and seams annually for lifting or gaps.
– Prevent Heavy Damage: Avoid placing sharp or heavy objects directly on the turf.
Discount Landscape provides premium turf, adhesives, underlay, and accessories for DIY projects. Whether you’re installing turf on concrete, patios, or creating pet runs, we have everything you need for a professional finish.
– Wide selection of USA-made synthetic grass
– Expert guidance and installation tips
– Accessories and adhesives for all project sizes
– Free product comparison guide and discount offer
Call Us Today: (818) 822-8191
Visit Our Showroom: Address :6258 Penfield Ave, Woodland Hills, CA 91367
Installing artificial turf on concrete is a practical and visually appealing way to enhance your outdoor space. With the right preparation, tools, adhesives, and finishing touches, your DIY project can turn any hard surface into a lush green retreat. Discount Landscape in Woodland Hills, CA makes it easy to get high-quality turf, accessories, and expert advice for all your projects. Start your transformation today and enjoy the beauty and comfort of a low-maintenance synthetic lawn!
September 10, 2025
Transforming a hard...
September 8, 2025
Introduction Artificial grass...
July 28, 2025
Updating your outdoor...